Monday, December 13, 2010


1) I adjusted the colour and contrast a bit

2) Then I added the effect "Ink Outlines"

3) Copied the image

4) Upped the Saturation

5) Made the background a light yellowish colour using levels

6) Using "Rectangular Marquee Tool" I selected the square back ground

7) And I used "Gaussian Blur" to get the Dark blended frame around the image.

Cartoon Ass.


T-Shirt Ass.


Tuesday, November 2, 2010

Quiz Question

Which is not a photoshop Protocall?

1) Levels

2) Channel Mixer

3) Colour Correction

4) Dodge/Burn

Monday, October 18, 2010

Photoshop Makeovers

1) Too edit this photo, I used adjusted the levels.

2) I changed it to Monochrome.

3) I used healing brush and clean up her face a bit.

4) On layers, I copied the background.

5) Added Surface Blur

6) Erased all Surface blur, except skin.

Tuesday, October 5, 2010

September Light


1) Adjusted the Curves.

2) Cleaned up face with Brush Tool.

3) Whitened teeth with Brush Tool, and lightened eyes with Dodge Tool.

4) Darkened sides with Burn Tool.

5) Unshapend Mask.

7) I cropped the image to make it Rule of thirds.

6)And lastly, I changed it to Grayscale then too Duotone.
(This photograph is an example of Duotone, Leading Lines, and Rules of Thirds.)

Composition

Relationship
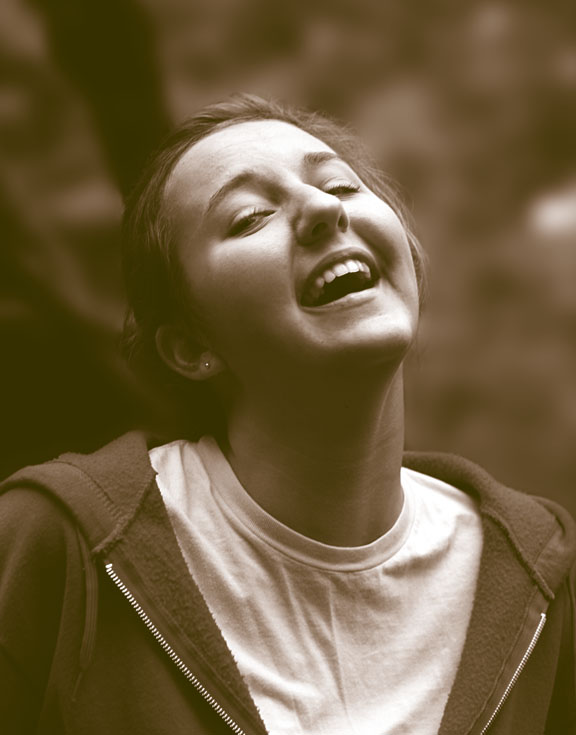
1) Cleaned up Jordan's face with Spot Healing Tool and Brush Tool

2) Lightend Jordan's face up a bit with dodge tool.

3) Adjusted levels and Curves.

4) Upped the saturation a little.

5) Added some green to the trees and grain colour to the grain, using Brush tool.

6) Sharpened it a bit, with Unshapen Mask tool.


Off Center


1) I adjusted curves to lighten her face up, because it was very dark.

2) And cleaned it up with the Spot Healing Tool and Brush Tool.

3) Made eyes more blue with Brush Tool.

4) Darkened the sides for effect.

5) Sharpened it a bit with Unshapend Mask.

Wednesday, September 29, 2010

Landscape


1) I adjusted the curves.

2) Then I fixed the levels, and made the blacks darker.

3) Added some unsharpen mask.

4) I burned the sides darker, just for effect.

5) I upped the saturation, to bring the colours out more.

6) Using the brush tool I changed it to make it a blue colour; I lowered the Opacity and made the sky more blue.

7) Lastly, I lowered the contrast a bit, to make it more realistic.

Wednesday, September 22, 2010

Leading Lines


1) I adjusted the levels

2) Added some contrast

3) Darkened the edges of the photo with the burn tool, too draw more attention to Mackenzie

4) Upped the saturation a tad.

Portrait


1) I cleaned up her face a little bit with the 'spot healing brush tool', and then by using layers and the brush tool I made her face softer by lowering the opacity on the new layer.

2) I slightly whitened her teeth with the brush tool, and lowered the opacity again on a new layer.

3) Using the quick mask, I blurred the back ground more then it was already.

4) I used the levels and dodge tool to lighten the white glow on her face, then I used levels to darken the blacks in this photo.

5) I cropped to get more focus on her face.

6) Lastly I made it grayscale, and added duotone/brown colour.